Yeah. Sometimes you choose DIY projects and sometimes they choose you. Like a year ago when I hear a big bang and this happened...
There's just nothing like seeing your medicine cabinet mirror laid gingerly against the wall as if to say "she won't notice, will she?"
The magnetic piece on the door apparently decided to go on strike and came clean off.
I'll be honest, the inside of that thing was looking mighty shabby. Because it's MDF and because someone...not naming names...put his wet toothbrush on the MDF veneer it had gotten all warped and grody looking.
Then you count the peeling veneer and yeah, the DIY Gods were letting me know it was time to spiff things up a bit whilst the Mr made a trip to the hardware store for the right part. (Which by the way only the actual local mom and pop hardware store had...NONE of the big box hardware stores so support your local hardware stores!!!) I tore off any ripped veneer (bottom right above) and wiped it all down and called my friend Annie.
I thought it might be nice to go for an effect to match the walls so I grabbed Annie Sloan's Paris Grey and got to painting.
While my 2 coats were drying, it was time to think about the shelves. Ages ago, we had vinyl bamboo installed in the bathroom and we still like it. We had a few extra planks saved back in case anything ever needed repaired. I almost threw them out the year before but am glad I didn't. I grabbed the planks and the loose shelves from the cabinet and cut the plank around the shelf with an
X-ACTO Knife (affiliate link)
 to fit.
I grabbed some indoor outdoor sealant we had on hand and used that to secure the plank to the shelf.
The shelf was light and created a slight gap between it and the plank so I knew I needed to weight it down for the length of the shelf.
Who says VCR's aren't good for anything?
When I felt the bond was strong enough, I wiped the excess seeping out and made sure to fill in the gap neatly as I went since it would be in a humidity laden room.
I grabbed some clear wax and began to cover and buff the dried paint inside the cabinet to seal it from humidity.
Now time to get to that bottom shelf that doesn't come out. The one that gets the most grodified. I had to cut an extra little slab because the plank wasn't wide enough on it's own to fit. I also notched out the right corner where the door would need to reattach so no frustration would come into play later.
I applied the short strip along the back since it wouldn't be seen much.
Then I gooped up the wider plank and attached it to the majority of the shelf making sure to press the two pieces together.
I applied some extra sealant to the gap and wiped it making sure to get into the crevice so that no water or humidity would infiltrate.
I liked the way it looked but it needed just a little something extra because I wasn't digging how you could see the attached plank to the shelf.
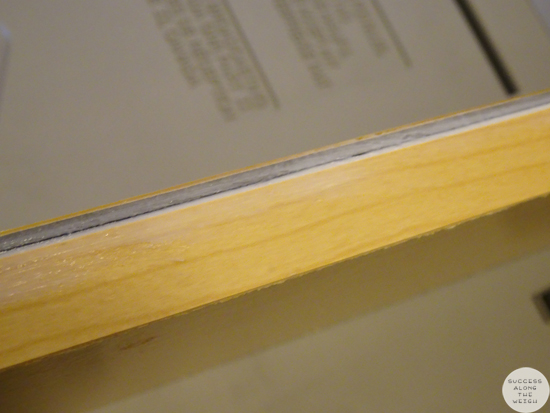
I grabbed some white paint and painted the edges of the shelves.
There, I like that much better and it gives it a more finished look.
I reloaded all of the Mr's
crap stuff in there and for anyone wondering, yes this was before we switched to all natural products. I was quite happy with my little upgrade. It had been a long time coming.
What DIY projects have chosen you by way of falling, breakdown or family member foul?
*This post contains an affiliate link.
====================
Like this post? Don't miss another one...subscribe via email or RSS feed. (Or you can follow me on
Facebook )


When we moved in there was tile on the walls around the bathtub. I wasn't a huge fan of the color but it was in good condition so I could live with it. Fast-forward 10 years or so and some moisture got into a seam somewhere and the whole wall was deteriorating. It was ugly. That led to tearing the whole mess out, rebuilding the wall, and installing a new tub surround. Which of course was followed by painting the whole bathroom.
ReplyDeleteWe lack the skills for decent DIY, so not much gets done without outside help
ReplyDeleteDIY at our house is mostly outside projects. My Mr. will fix something inside, but if it's a do-over project, it's mostly me, and I'm decidedly UNhandy (not like you Anele--WOW!), so not much ever gets done. I did, however, spot a DIY project in a women's magazine a couple years ago and painted my back door in some contrasting colors, which I thought came out quite nicely. It involved lots of taping, but not much else, so I could handle that.
ReplyDelete