
When you think of what you'll need to decorate a tree, obviously, the first thing you think of is ornaments. I actually tracked these beautiful vintage images down almost a year ago and printed them out. I already knew what I wanted to do with them and could only picture how beautiful they'd be on a real tree!

Card stock for printing
Red & White Baker's Twine
Hole punch
Mod Podge
Clear Glitter
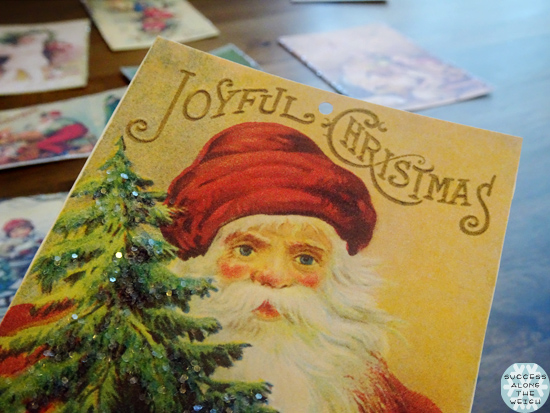
A search on the web of public domain images brings up a lot of beautiful vintage Christmas images. Find some you like and print them to the size you think you'll need. They don't all need to be the same size if some are a little bigger and smaller.

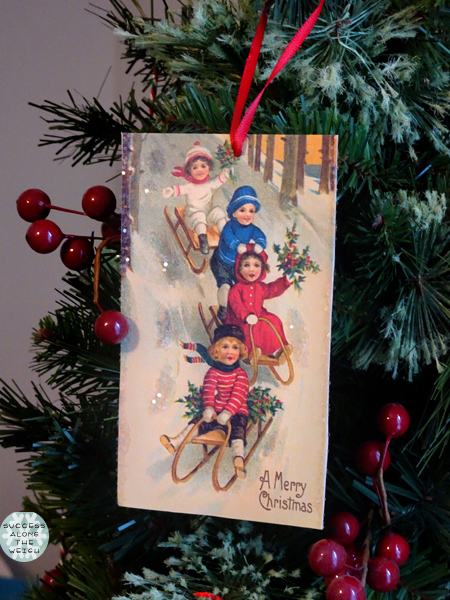
Add some Mod Podge (or glue stick if that's what you have on hand) around the edges or whatever part of the picture you want to highlight with sparkle. On this particular one, I wanted to highlight the tree.
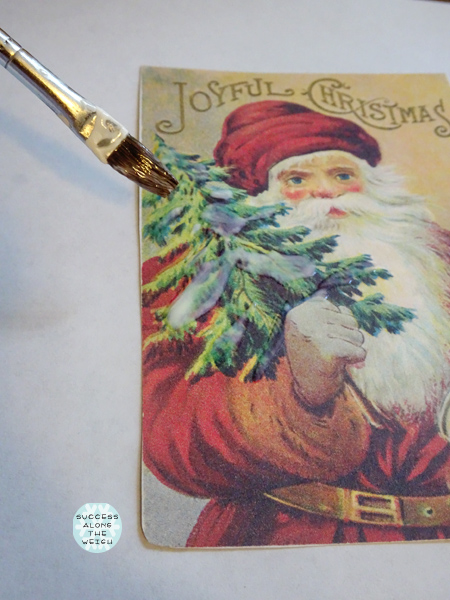
Before you start your glitter work, lay down a piece of scrap or wax paper for easier clean up. While the sealer/glue is still wet, tap some glitter over it and let it sit for a minute.

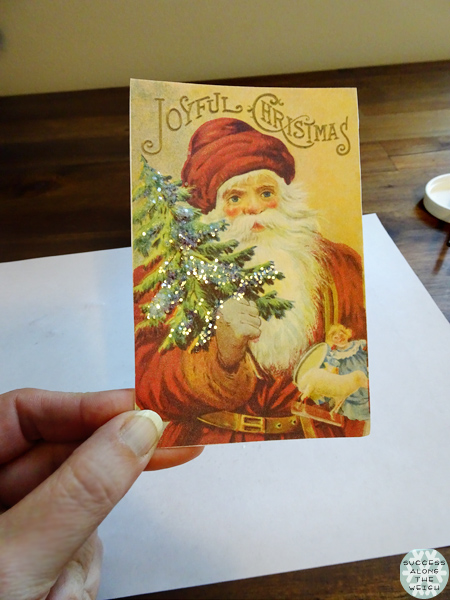
Tap off the excess glitter and set aside to dry.
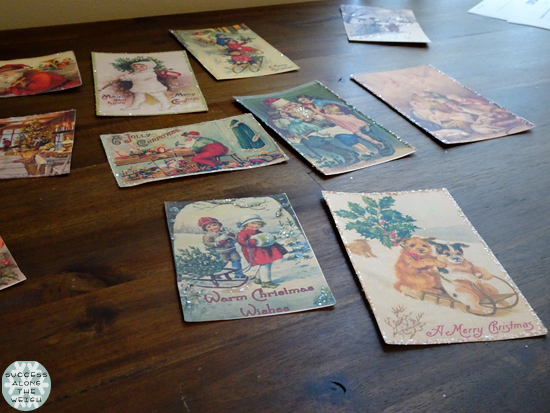
Repeat with other images.

Punch a hole where you want to hang the string. You could do right in the middle if you want it to hang symmetrical or in a corner if you want something a little different. Just make sure you leave enough room so the paper doesn't rip with the string through the hole.
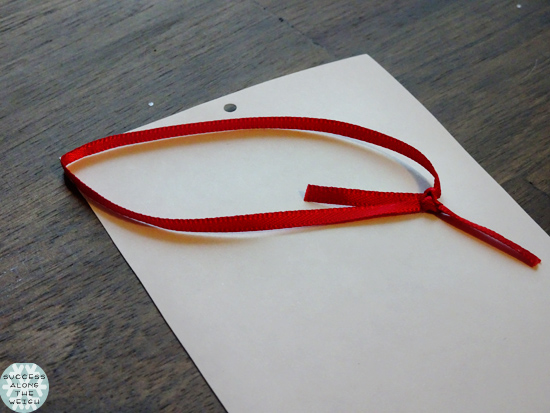
When the glue is set, tie your twine or ribbon to a length you want it to hang from on the tree.
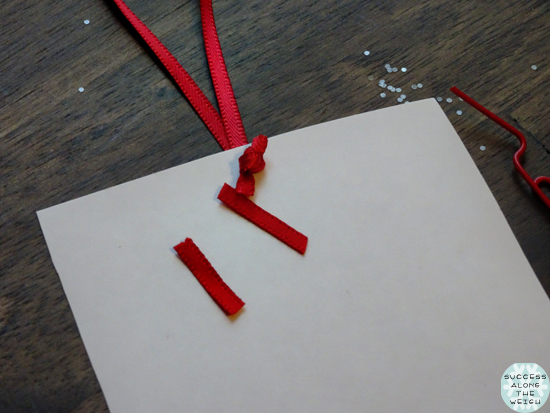
Take a paper clip and push the ribbon through the hole from the back.

Pull the ribbon through and cut off any excess. (Maybe not as short as I did on this one. LOL)
How easy was that? (Did you read that in Ina Garten's
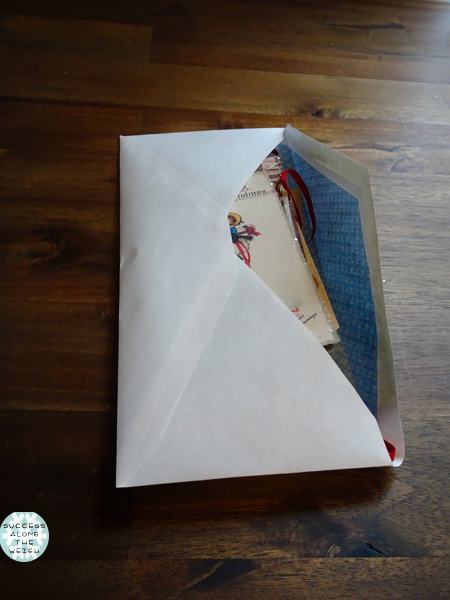
When I get them ready for storage, I flip half with the ribbons coming off one end and then other coming off the other side so the pile is even.
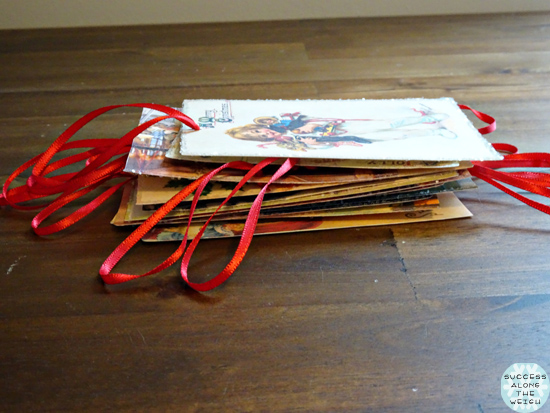
A simple ornament idea that will travel easily since they fit in an envelope! That's 15 ornaments in one regular envelope.
These babies won't be the only things gracing our tree Christmas Day, come back tomorrow for another adorable travel friendly Christmas ornament!
This post contains affiliate links
====================
Like this post? Don't miss another one...subscribe via email or RSS feed. (Or you can follow me on Facebook )
All this time I had no idea what you were up to. Now it all makes sense and those are really creative. I love that you added the glitter in spots. Good job!
ReplyDeleteThose are a really neat idea!
ReplyDeleteLove this I'm totally stealing it!
ReplyDeleteHow beautiful - I love them all, but I especially love the little blonde baker! Your tree will be so sweet - I can't wait to see the pictures!
ReplyDelete